What is Vertex AI?
Vertex AI is Google’s solution for problem-solving in Artificial Intelligence domain. To put things into context, Microsoft provides Azure Machine Learning platform for artificial intelligence problem solving and Amazon has Sage Maker for solving AI workloads.
Google’s Vertex AI supports two processes for model training.
- AutoML: This is the easy version. It lets you, train models with low effort and machine learning expertise. The downside is that the parameters you can tweak in this process are very limited.
- Custom training: This is free space for data science engineers to go wild with machine learning. You can train models using TensorFlow, sickit-learn, XGBoost etc.
In this blog post, we will use AutoML to train a classification model, deploy it to a GCP endpoint, and then consume it using the GS cloud shell.
Supported data types
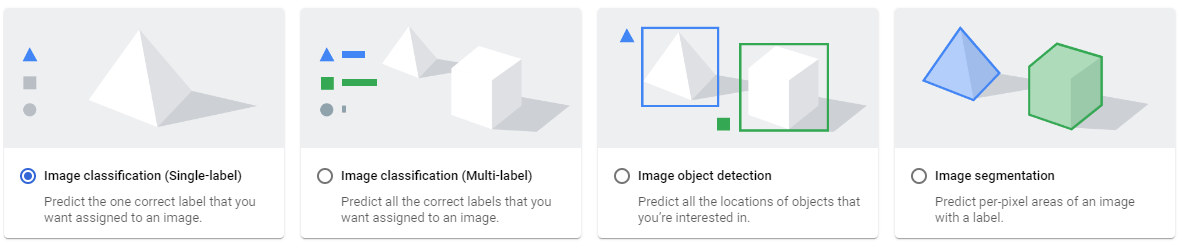
Image
- Image classification single-label
- Image classification multi-label
- Image object detection
- Image segmentation
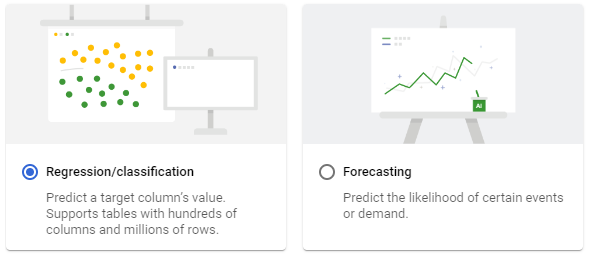
Tabular
- Regression / classification
- Forecasting
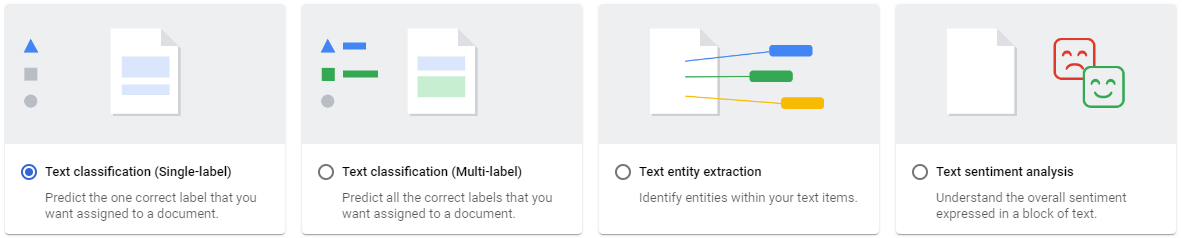
Text
- Text classification single-label
- Text classification Multi-label
- Text entity extraction
- Text sentiment analysis
Video
- Video action recognition
- video classification
- video object tracking

Supported Data sources
You can upload data to Vertex AI from 3 sources
- from Local computer
- From google cloud storage
- From Bigquery
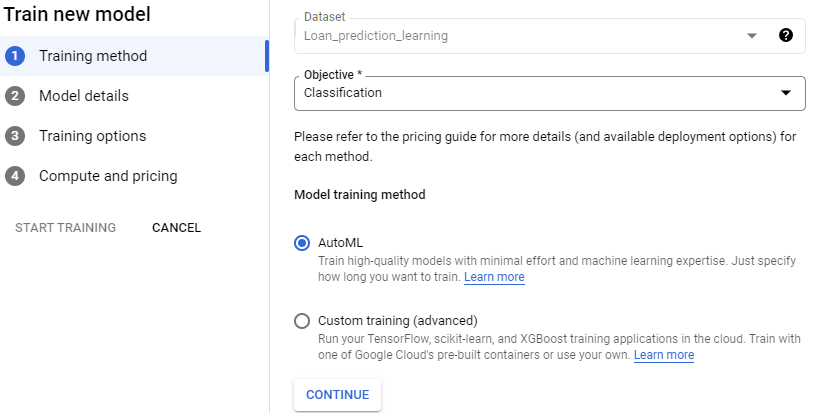
Training a model using AutoML
Training a model in AutoML is straightforward. Once you have created your dataset, you can use a click-point interface for creating a model.
Training Method
Model Details

Training options
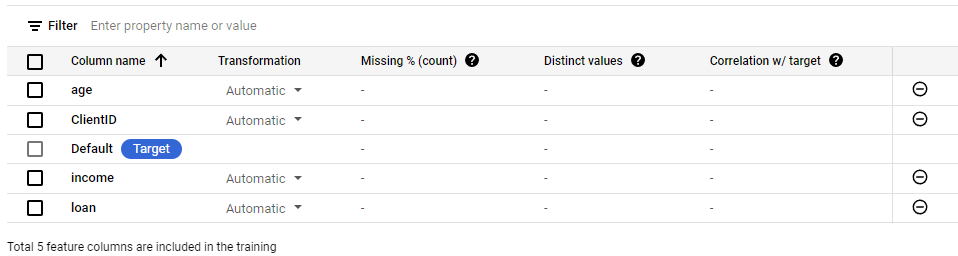
Feature Selection
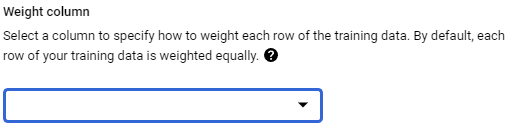
Factor weightage
You have an option to weigh your factors equally.
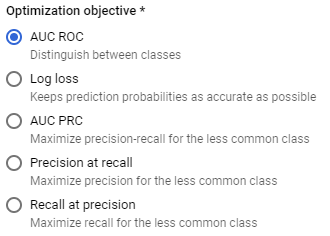
Optimization objective
Optimization objectives options vary for each workload type. In our case, we are doing classification, hence it has given options relevant to an optimization workload. For more details on optimzation objectives, this optimization objective documentation is very helpful.
Compute and pricing
Lastly, we have to select Budget in terms of how many node hours do we want our model to run for. Google’s vertex AI pricing guide is helpful in understanding the pricing.
Once you have completed these steps, your model will move into training mode. You can view the progress from the Training link in the navigation menu. Once the training is finished, the model will start to appear in Model Registry.

Deploying the model
Model deployment is done via Deploy and Test tab on the model page itself.
- Click on Deploy to End-point
- Select a machine type for deployment
- Click deploy.
Consuming the model
To consume the model, we need a few parameters. We can set these parameters as environment variables using the Google cloud shell and then invoke the model with ./smlproxy
Setting environment variables
| ENVIRONMENT VARIABLE | VALUE |
|---|---|
| AUTH_TOKEN | Use the value from the previous section |
| ENDPOINT | https://sml-api-vertex-kjyo252taq-uc.a.run.app/vertex/predict/tabular_classification |
| INPUT_DATA_FILE | INPUT-JSON |
Getting predictions
./smlproxy tabular -a $AUTH_TOKEN -e $ENDPOINT -d $INPUT_DATA_FILE